
Basement walls do two jobs at once. They hold back soil loads, and they manage water that will turn up sooner or later. If you plan them as a “structure-only” problem, you usually pay for it later with damp patches, cracks, or fiddly remedial work. This guide covers the practical checks that help Australian builders deliver basement walls that are strong, buildable, and easier to keep dry.
What a “good” basement wall really means
A reliable basement wall is more than thick concrete and steel.
It’s a system that controls water pressure, handles movement, and stays straight enough that the next trades aren’t fighting the geometry.
You’re aiming for:
Structural capacity: reinforcement and thickness matched to soil type, height, and surcharges.
Water control: drainage + barrier + detailing working together.
Buildability: a repeatable method your crew can deliver bay-by-bay.
Inspectability: key elements can be checked before backfill closes the book.
Dry walls are usually the result of boring, consistent planning.
Where basement wall problems usually start
Most failures aren’t mysterious.
They come from a small set of predictable weak points:
Water pressure (hydrostatic pressure) is building up
Hydrostatic pressure is water pushing on the wall when it can’t drain away.
That pressure finds the easiest path through joints, hairline cracks, tie holes, and penetrations.
Joints and penetrations are treated as an afterthought
Construction joints, cold joints, corners, and service penetrations need deliberate detailing.
If they’re “sorted on the day”, they’ll be sorted again later.
Concrete placement issues
Honeycombing, poor vibration, and rushed finishing create pathways for water.
You can’t waterproof a void you didn’t know you poured.
Start with the site reality: soil, groundwater, and where water exits
Before you lock in a wall method, map the water path.
Not the “in theory” water path.
The actual route from behind the wall to a discharge point that won’t get buried, blocked, or forgotten.
In Sydney and other metro areas, you can get “dry” sites that turn wet after a big storm, a neighbour changes drainage, or irrigation lines leak.
Assume water will show up.
Then make it easy for that water to leave.
Practical opinion: If the drainage path isn’t clear, fix that first.
Practical opinion: Joints and penetrations deserve the same attention as reinforcement.
Practical opinion: A simpler wall layout beats a clever detail nobody can build.
Choosing a basement wall approach that suits the crew and program
Builders tend to use reinforced concrete, with different ways to form it.
Temporary (conventional) formwork
Flexible and familiar, but often labour-heavy.
Alignment, blowouts, and inconsistent finishes are common risk points when time is tight.
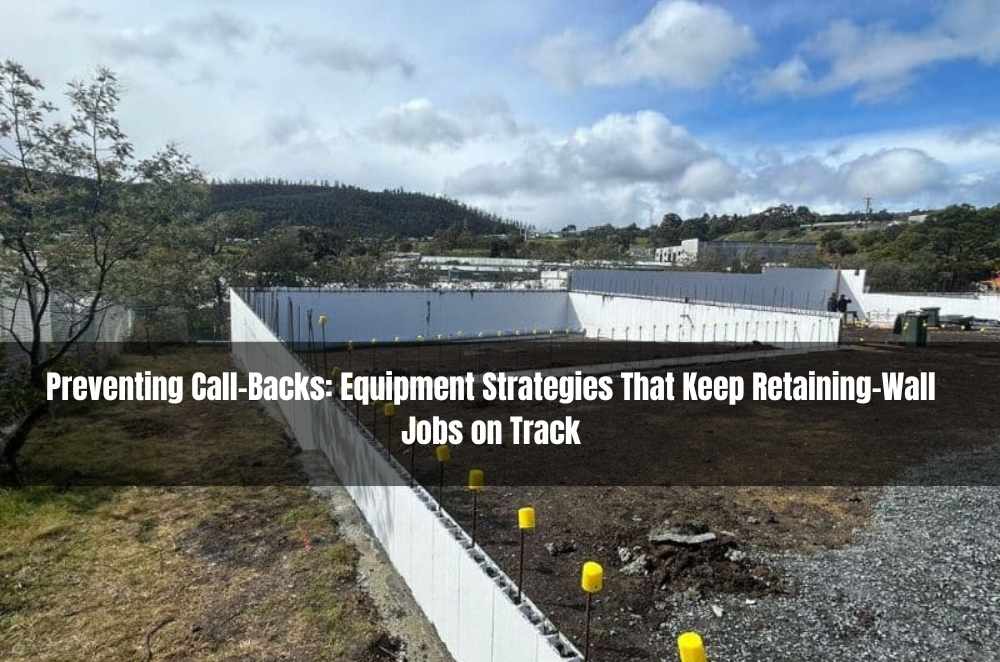
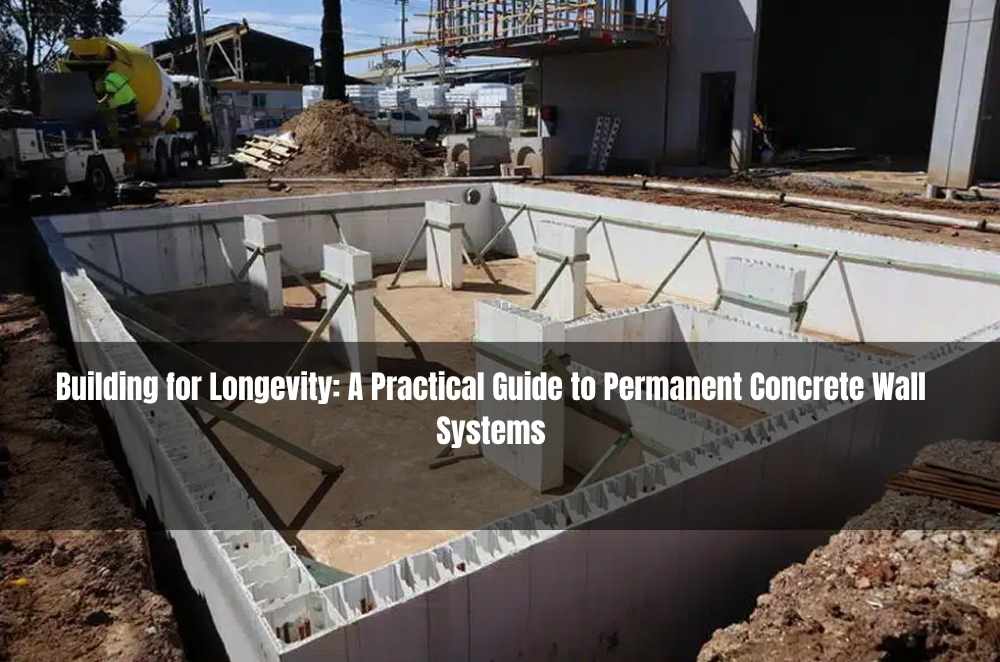
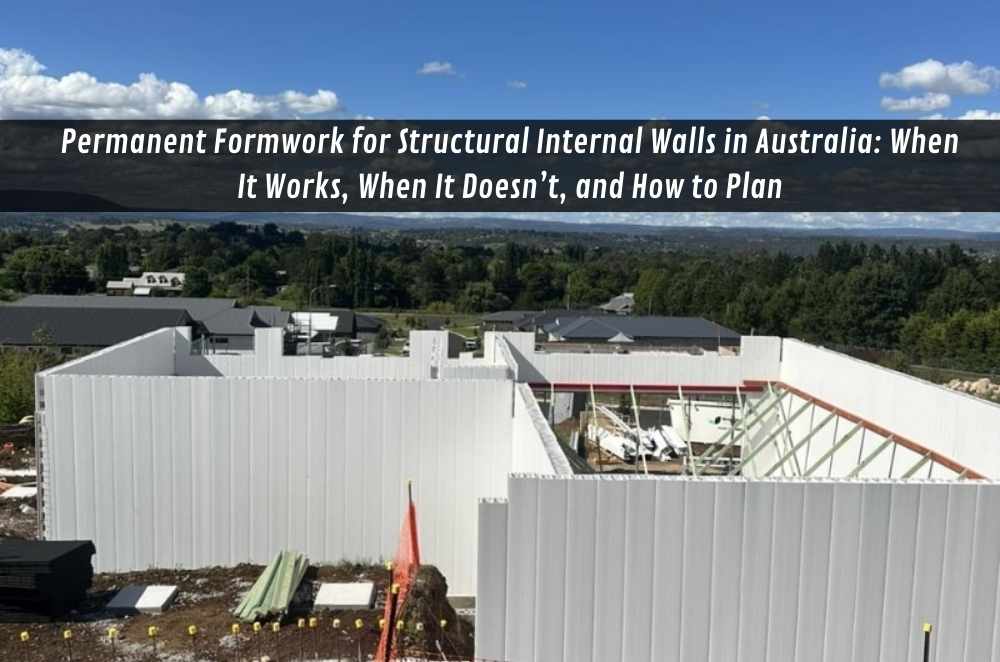
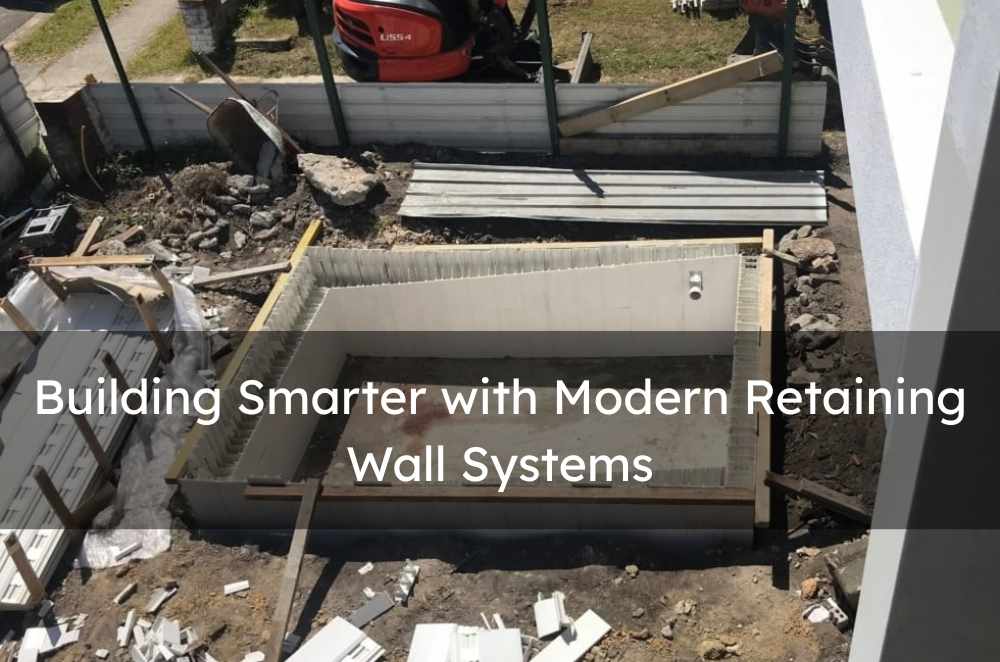
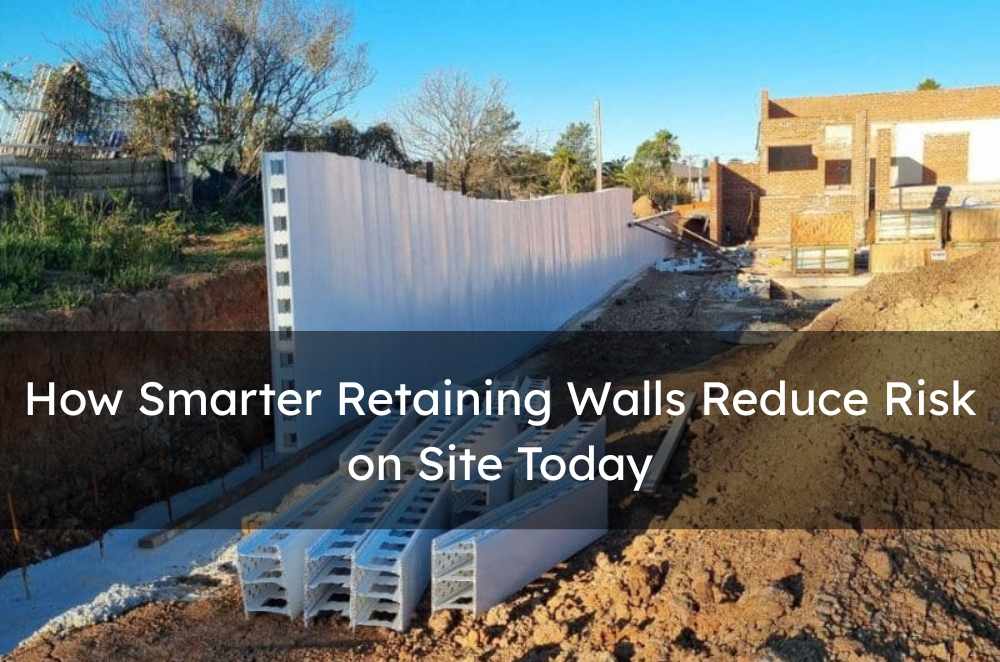
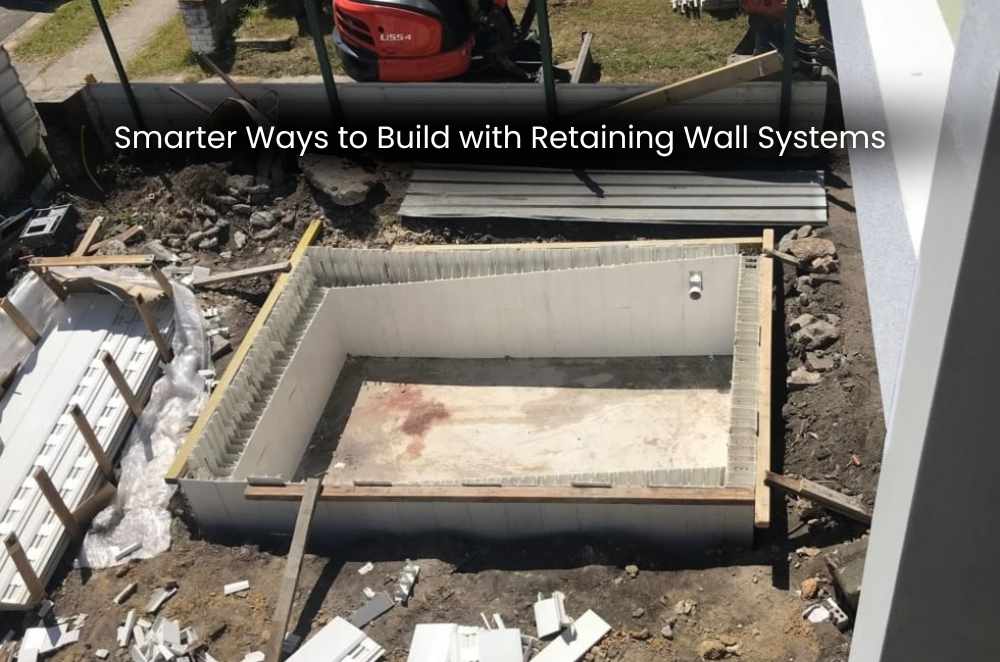
Permanent formwork systems
Permanent formwork stays in place after the pour, reducing the “strip and reset” cycle and helping standardise the workflow.
Some builders consider systems like the Rise Wall basement wall system when they want a more repeatable process for below-ground walls.
The key question is simple: Does the method help you form a straight wall, place reinforcement cleanly, and keep detailing consistent?
Precast (where practical)
Fast when it suits the site, but brings lifting access, transport constraints, and connection detailing into play.
On tight residential blocks, it’s not always the easiest path.
Water control: think in three layers
A basement wall stays dry when you build a system, not a single “waterproofing step”.
A practical three-layer model:
Drainage layer: relieve pressure by moving water down and away.
Barrier layer: membrane or coating suited to the conditions and substrate.
Detail layer: waterstops, seals, and transitions at the hard spots.
If one layer is weak, the others get overloaded.
Water is patient.
Step 1: Pre-pour coordination that prevents rework
This is where jobs are won or lost.
Before the pour, confirm:
Set-out, levels, and any step-downs
Reinforcement layout, laps, cover, and bar congestion points
Penetrations and sleeves fixed in the right locations (including future needs)
Joint strategy: construction joints, pour breaks, and waterstops
Drainage design: falls, discharge, and protection during backfill
Pour plan: access, pour sequence, and vibration approach
One clean coordination meeting saves a stack of “while you’re here” fixes.
Step 2: Pour and cure for watertight concrete
Concrete quality is part mix, part method.
Aim for controlled placement, consistent vibration, and sensible lift heights that suit the wall and the crew.
Then protect the wall while it cures, especially in hot, windy conditions where moisture loss can drive cracking and surface weakness.
Don’t rush the basics.
They’re doing more work than the membrane ever will.
Operator experience moment
On real sites, the first things to slip under pressure are usually the hidden ones: drainage placement, tidy vibration, and properly sealed penetrations. Once backfill is looming, people start “hoping” the details are fine. Hope isn’t a waterproofing strategy.
Australian mini-walkthrough: Sydney builder on a tight access job
A small Sydney builder is doing a basement garage under a townhouse build.
Access is tight, so they plan the wall cycle to minimise formwork moves.
They confirm the subsoil drain discharge point before reinforcement goes in.
Every service penetration is sleeved early to avoid bar clashes later.
They choose a wall-forming approach the crew can repeat in short bays.
Pour day is steady: consistent vibration, controlled lifts, no rushing corners.
Before backfill, they inspect the barrier and all transitions like it’s final—because it is.
That workflow is boring in the best way.
Pre-backfill checks that save your reputation
Once the soil goes back in, inspection becomes expensive.
Before backfill, check:
Wall line and plumb (especially around openings and returns)
Surface defects: honeycombing, voids, and weak patches repaired properly
Joints and penetrations sealed as designed
Membrane continuity and protection boards in place
Drainage falls, cleanouts, and discharge confirmed
Backfill can undo good work fast.
Protect what you’ve built.
Key Takeaways
Basement walls perform best when drainage, barrier, and detailing work together.
Hydrostatic pressure is the enemy—relieve it early with a clear drainage path.
Reinforcement and penetrations must be coordinated so the wall is buildable, not just designed.
Concrete placement and curing affect watertightness more than most people admit.
Treat the pre-backfill inspection as a hard gate—it’s your last easy look.
Common questions we hear from Australian businesses
How do we decide if we need “serious” waterproofing or just basic damp-proofing?
Usually, it depends on use and risk. If the basement is being lined, used for storage, or sits where water could build up after rain, it’s safer to design for higher protection. Next step: confirm drainage discharge and detail joints/penetrations before choosing a barrier system. In many Australian suburbs, site conditions change quickly with cut-and-fill and neighbouring works.
What’s the simplest way to speed up basement wall builds without sacrificing quality?
In most cases, it’s reducing variability—fewer formwork changes, fewer on-the-day penetration surprises, and a clear pour sequence. Next step: run a short pre-pour checklist with your foreman and whoever is doing waterproofing so details don’t get reworked. On tight sites, smooth sequencing usually beats trying to “push harder”.
When should we bring the engineer back into the conversation?
It depends on what changes on site. If excavation conditions differ, groundwater shows up, penetrations move, or you need to change joint locations, get advice early. Next step: document the change and confirm the impact on reinforcement, joints, and water detailing. Australian ground conditions can be unpredictable, and small changes can snowball below ground.
Write a comment ...