
Retaining-wall projects are rarely forgiving. A small oversight in bracing, drainage or compaction can lead to cracks, bulges or—in the worst case—a complete rebuild. Every builder and civil contractor has a story about the “wall that came back to bite”, often weeks after hand-over when soil movement or heavy rain exposes a hidden weakness. The good news is that most call-backs trace back to equipment decisions that can be controlled long before concrete is poured. This article examines those decisions and explains why many contractors rely on leading formwork suppliers across Sydney to access systems that improve efficiency, consistency and long-term structural performance.
Retaining-Wall Rework: The High Cost of Getting It Wrong
Rework on structural walls doesn’t just mean a day of patching grout. It can involve excavation, demolition, waste disposal, fresh materials, and extra engineering inspections—costs that quickly dwarf the original margin. In Australia, builders are also responsible for ensuring walls over 600 mm comply with structural and drainage requirements outlined in the NSW Fair Trading guidance on retaining walls. Similar obligations apply in U.S. jurisdictions under local building codes. A documented, stage-by-stage equipment plan is one of the simplest ways to avoid falling foul of these rules.
Why Call-Backs Happen on Retaining-Wall Jobs
Design errors can trigger structural failure, but on most residential and small commercial sites the culprit is more mundane: rushed or ill-matched equipment. Common scenarios include:
Under-sized braces that bow when concrete is vibrated.
Re-used formwork panels with warped edges that leak slurry.
Compaction plates that can’t reach tight corners, leaving soft spots.
Drainage cells or pipes ordered late, forcing ad-hoc solutions.
If any of those pain points sound familiar, you might also value the deeper design discussion in our related guide on choosing the right retaining-wall approach. It explains how early decisions about wall type influence every equipment order that follows.
Match Equipment to Each Construction Stage
Avoiding call-backs starts with matching gear to tasks, not the other way around. Below is a pragmatic look at equipment choices for each stage—plus the pitfalls they prevent.
Excavation & Base Preparation
• Laser levels and string lines: Ensuring the footing steps follow site contours saves a world of packing and shimming later.
• Compaction plates or rammers sized for trench width: A plate that barely fits will miss edge zones where settlement begins.
• Geo-fabric and drainage blankets ready on site: Waiting until the wall is half-built to order drainage fabric is courting trouble.
Formwork, Bracing and Reinforcement
• Modular formwork panels with intact edges: Even minor gaps can create honeycombing that weakens the wall face.
• Engineered brace frames: Timber kickers cut from off-cuts might pass on a calm morning, but they won’t stand up to a midday gust during the pour.
• Adequate tie-bars: Under-estimating tie numbers is a classic false economy; cones popping mid-pour are costly and dangerous.
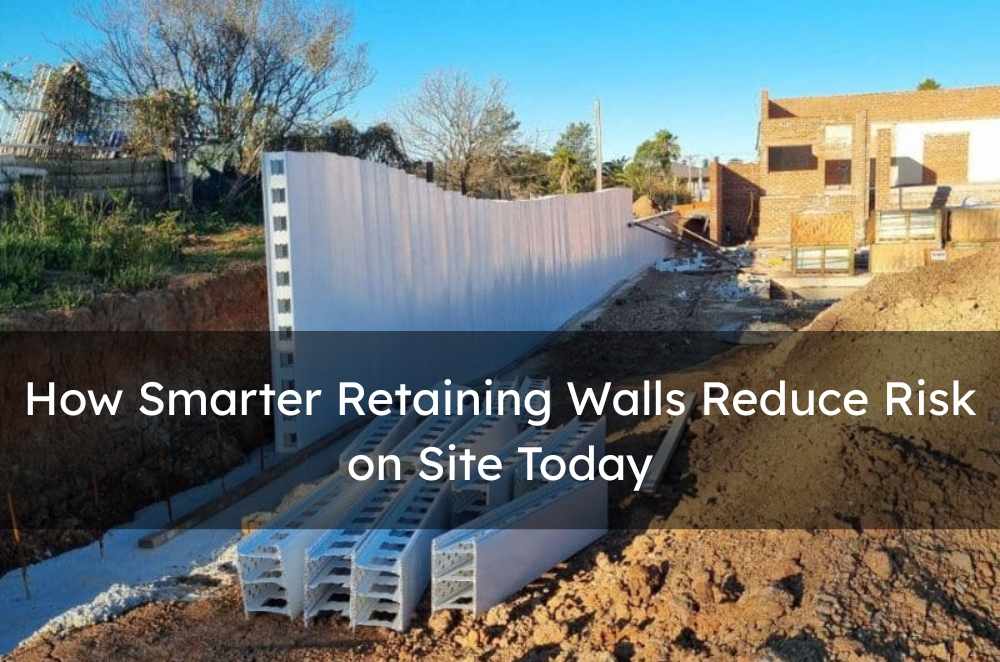
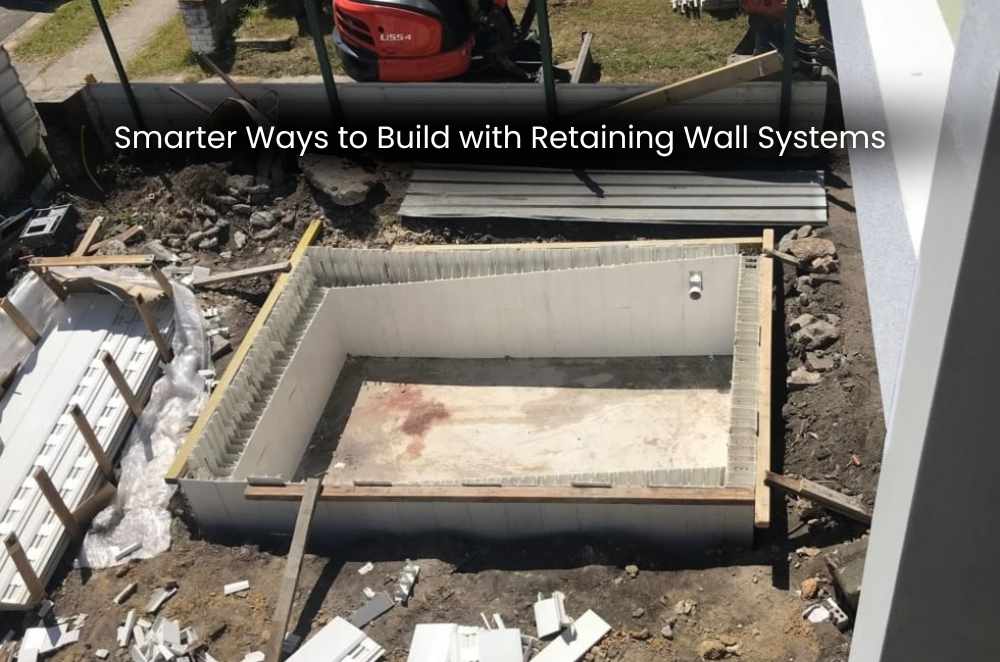
When specifiers talk about efficient site setups, many point to the benefit of using Rise equipment on the job—durable, modular systems that arrive site-ready and remove the guesswork from brace spacing and tie selection.
Drainage, Backfill & Finishing
• Filter pipes and gravel: Without them, even the strongest wall will yield to hydrostatic pressure.
• Handheld soil densometers: Cheap insurance that backfill reaches the compaction spec.
• Lightweight screed bars or vibrating screeds for capping beams: A smooth, level finish reduces water ponding against the wall.
Comparison Table: Oversights vs Proactive Strategies
A quick glance at the table below highlights how the right equipment decision swaps risk for reliability.
Common Oversight
Likely Result
Proactive Strategy
Re-using bowed formwork panels
Honeycombing and misaligned wall face
Order modular panels with certified straightness; inspect edges before install
Minimal bracing “to save time”
Wall lean during pour, blowouts
Use engineered brace frames matched to pour height and wind exposure
Late order of drainage materials
Rushed, uneven backfill; water pressure build-up
Lock in pipe, gravel and fabric quantities during tender stage
Small plate compactor for deep trench
Soft zones behind wall, future settlement
Hire a trench-size rammer or narrow trench roller for uniform compaction
Small equipment upgrades rarely dent the budget but can eliminate hours of remedial work down the track.
Site Checks Before Sign-Off: A Quick Walk-Through
Form-tie removal & patching – Are tie holes plugged with non-shrink grout before backfill starts?
Weep holes clear – Quick hose test ensures water escapes freely.
Drainage pipe falls – Visual check confirms outlets sit below finished ground level.
Backfill lift heights – Verify compaction every 200–300 mm, not just at the top.
Surface water management – Swales and spoon drains should steer runoff away from the wall.
Australian sites on reactive clay benefit from scheduling these checks before the first heavy rain of the season. U.S. crews in frost zones should add insulation board inspection to the list.
Final Thoughts: Planning Beats Patching
Retaining-wall defects rarely appear out of thin air; they emerge from small lapses in equipment planning that compound under job-site pressure. By aligning the right tools and systems with each construction stage—and locking them in early—contractors can dramatically reduce the risk of that dreaded “Can you come back?” phone call. A clear equipment roadmap lets the crew focus on workmanship, inspectors sign off with confidence, and clients enjoy a wall that performs for decades.

Write a comment ...